Showing posts with label DIY. Show all posts

Thursday, November 13, 2014

Thoughtless Thursday: DIY Clicker Bracelet!

Hello, Sadie Nation!


Today, we thought we'd do another craft posting.  They're too much fun to just leave out in an imaginary crafting cloud!  Keep in mind that Mom is not a professional beader, but just does this for fun, so it might not be the perfect process or result!


So, this past summer, Mom and I were signed up to do a "Comfort Dog" class to get me certified with Possibility Dogs.  We thought it would be a great experience for me, as my Mom has worked in a nursing home in the past, and currently works with special needs children in a public school.  There's a dog in the special needs department that works with one girl, and Mom thinks it's so cool to have her around.  Someday, her pipe dream is to bring me to school, too, but I need more obedience training and certifications before I pitch my idea to the school.  So, this class was going to get me to listen better and learn how to be as comforting and therapeutic as possible!


Unfortunately, the class was at 6pm every Friday, which made attendance really tough for us.  Mom worked a different job over the summer, and didn't get to come home until 5, and then the whole process of packing my things up, packing me up, and driving there got to be too much.  Plus, let's be honest, Friday is for playing and spending time outside, too.  I thought so!  We had to stop the training, but we plan on starting this again sometime in the future.  Maybe when I stop being the class clown, because I am pretty notorious for that in obedience class!

For the class, our trainer required we use a clicker.  I've never seen one of these clicky devices before, but they're pretty cool.  Well, at least I think so, because every time that thing clicks, I get tasty grub.  Good deal!  Mom always kept losing the clicker, because the one we received is pretty small.  It got lost in her purse constantly.  She decided she could make a bracelet for it so it would always be on her wrist when we were doing our training!


Things you'll need:
Flexible beading cord OR elastic
Cute beads of your choice (ours are an assortment of glass beads)
Clasp (ours is called a "lobster claw")
Jump rings
Round beads (2)
Crimps (2)
Needlenose pliers or beading pliers
Scissors or a wire cutter if you are using metal wire
A clicker, of course!

An example of the wire we used- flexible, but sturdy
Picture of the jump rings, clear seed beads, and lobster claw
In the tutorial, Mom will use pink beads, and no clicker since we only have one! :)
First, we started off by grabbing all our materials, and placing them on a soft piece of fabric so that our things wouldn't roll around if we dropped the project.  Mom's learned this the hard way.  Oops.


Once we have everything laid out, the next thing we did was take the lobster claw and attach it to one end of the wire.  We did this by attaching a jump ring to the lobster claw.  Now, the next few parts get a tad confusing, because it's all about stringing things in the correct order.


For the next part, Mom put three items onto the string: a crimping bead first, a small round bead (or seed bead) on second, the jump ring with lobster claw on third.  We made these into a loop by taking the end of the string and putting it through the small round bead and crimping bead one more time.  Once the loop was made, Mom used the pliers to squish the crimping bead, sealing the end of the bracelet.  Now we can start beading!


The next part is Mom's favorite part: the actual beads.  They're way more colorful and exciting than putting the components on.  So, this part is ALL up to you!  You get to pick the beads/findings/etc that you want to use to make your bracelet pretty.  We used blue and green glass beads since we had a bunch here.  One thing you shouldn't forget, though, is the clicker. ;-)  We put ours in the middle of the bracelet, but you can put it anywhere!  We didn't have an extra clicker for the tutorial, but just pretend it's a bead and string it onto the wire.


Once you have all your pretty beads on your string, it's time to seal the other end with a clasp to use with the lobster claw.  We used another jump ring, round bead, and crimp.  Again, put the crimp on first, then the round bead, then the ring.  Make a loop by stringing the string through the round bead and crimp, then press the crimp shut with the pliers.  We didn't clip the wires from the end yet in these pictures, but you can clip them with a wire cutters or scissors to make it look neat.


And there you have it!  A clicker training bracelet that's pretty and useful!

Don't want to make the bracelet yourself?  Maybe you can sweet talk my Mom into making you one ;-)

Chow!
Ruckus the American Eskimo Dog Blog
- See more at: http://www.ruckustheeskie.com/2014/11/thoughtless-thursday-43-righteous-hound.html#sthash.8dIXzn6m.dpuf

Thursday, October 16, 2014

Thoughtless Thursday: DIY Durable (and Cheap) Dog Toy!

Hello, Pals!

We have been burning through dog toys around here, having 3 of us and all!  Boss has to get (yet again) crafty to make sure we're not learning how to eat furniture or kitties.  So.....with that in mind, she has come up with the solution:

DIY Dog Toys!

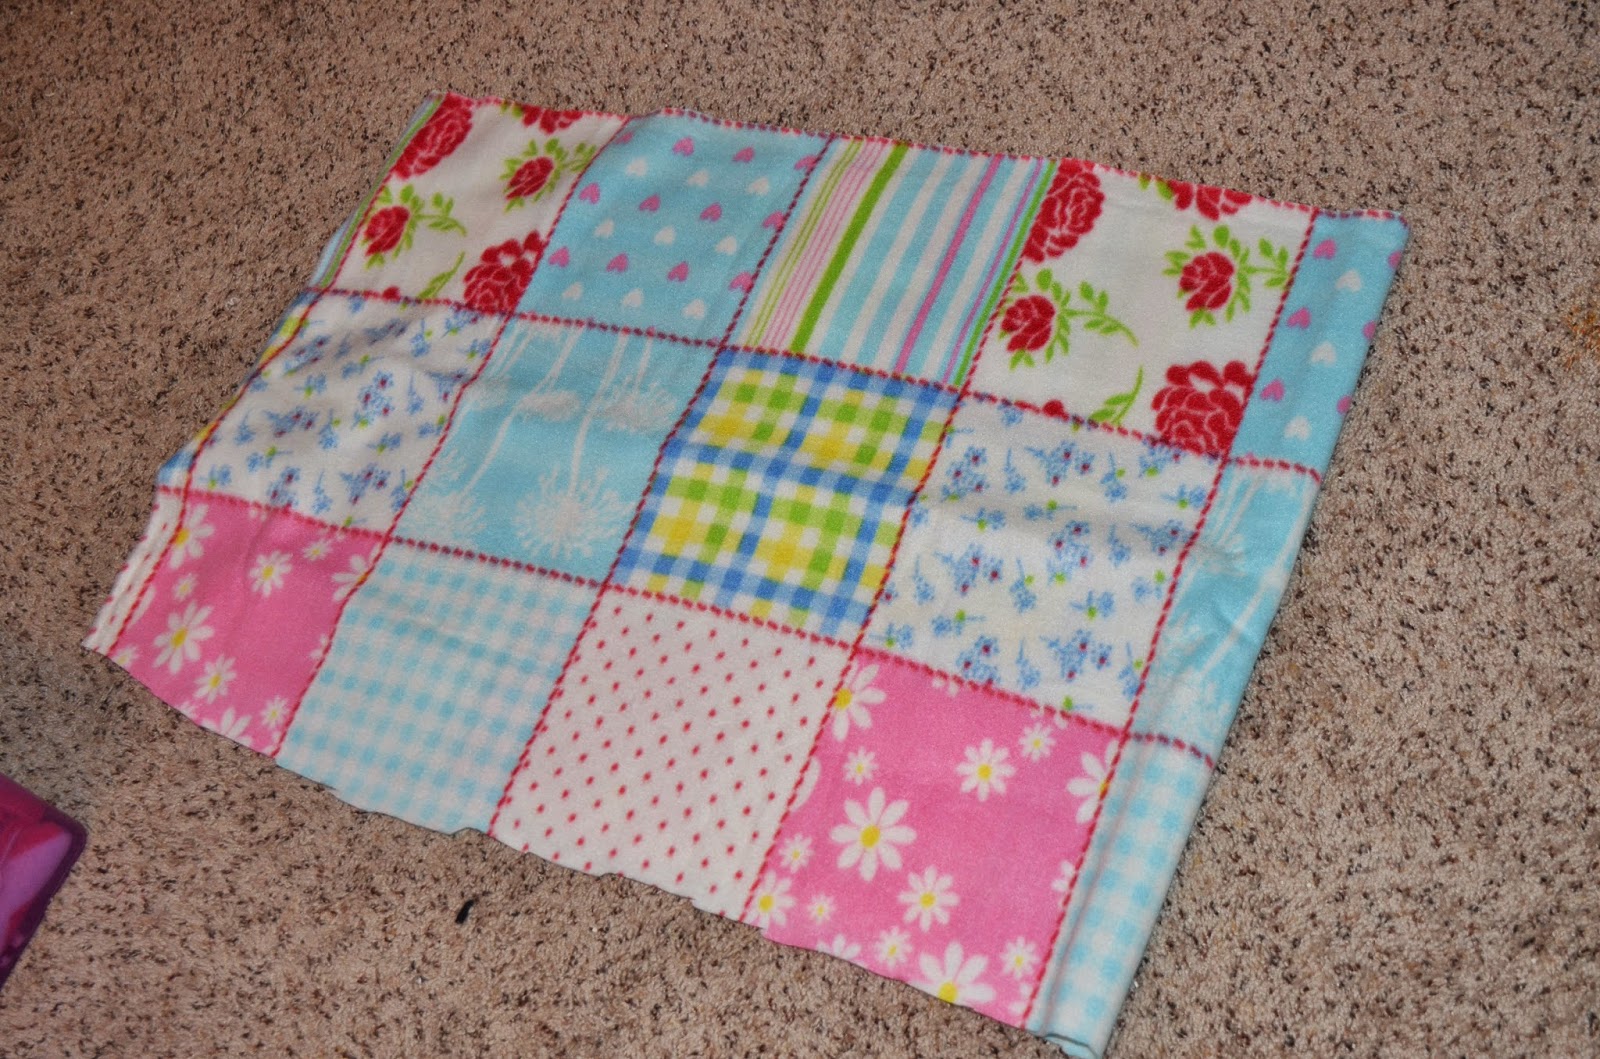
This is the first prototype of her "line" of toys for us.  This one is made of 4" wide, and long pieces of fleece.  Boss picked 1 color this time to make them look cute, but you can use any combination! She also uses 2, 3, and 4 color combinations- it's really up to you.  First, I must apologize for my Boss's horrible picture quality- taking pictures in her "craft room" is tough, especially when the sun is coming up!


Once she had the fleece laid out, she cut 4 equal segments of each color.


To start the toy, she tied a knot at the end to keep the work from coming undone.


Then, she started doing the knots.  You have to sort of "weave" the 4 strands- it's difficult at first, but once you get going and have less yarn to work with, it gets easier.  I always make an upside-down U, and on the other side of the knot, a "U", then think "over, under" to get the correct knot going.  It's slow going at first, but after a while, it's just habit.


Keep making knots until you decide that the toy is the right length (there is no "right" length- it's all up to you)!  Tie a knot at this end too, to finish the project off.  The tighter, the better!


You can also do this project with t-shirt yarn, but you have to use 4 strands to make 1 thicker "strand" to weave, resulting in 16 pieces of t-shirt yarn total.  Those tend to be really stretchy, but I still liked to play with them, nonetheless!


Ta-da!  A cheap, durable doggie toy that us friends LOVE!

We LOVE our new toys!
Chow, and Happy Crafting!
Ruckus the American Eskimo Dog Blog
- See more at: http://www.ruckustheeskie.com/2014/10/thoughtless-thursday-39-because-real.html#sthash.ew5q13ZG.dpuf

Thursday, October 2, 2014

Thoughtless Thursday: DIY Doggie Bed

Good Morning, Every"paw"dy!

If you have read my past posts about my crafty Boss, you'd already know this!

But if you haven't, here's one thing: Small Boss is really crafty.  Her creative mind is always flowing, and she loves to make me new things!  If you have a little bit of sewing knowledge, you can definitely make your furry friend a doggie bed.  Here are the various ones she has made!

The first bed is for my kitty siblings, Thor and Allie.  Bosses got these guys off a free Craigslist ad almost 3 years ago when they were 9 weeks old.  Since they cuddled together all the time, Bosses decided the kitties needed a bed.  I don't blame 'em, maybe they should get another one so they stop encroaching on my bed!  Ugh!

My kitty siblings, Thor and Allie, when they were babies.
Aren't they cute?
Typical kitty sibling Thor...letting it all hang out.
Cuties in their kitty bed!
Sorry.  I digress. :)

So, that was the kitty bed.

The second bed was made for me.

Napping on the pre-made materials when I was a tiny thing
Willie and Me in my huge doggie bed!
Modeling my HUGE bed.
I can really stretch out in this thing!
The third bed was made for my friend, Willie.  His Bosses got a bigger place to live, so naturally, he needed a bed for both levels of their townhome!  Small Boss made him one for their living area.  Rumor has it that he loves it!  I made sure to sit in it while Boss was making it so that he could smell me all the time when it got to his house. He he he.

The fourth bed was made for, well, me again.  Boss has been experimenting with different shapes and sizes to see which bed I would actually sleep in.  So this time, she made a super fluffy rectangle.

Being a good little "momma" to my baby friend, Jax.
Chewing on a bone on my fluffy dog bed.
The fifth bed was made for my other buddy, Jax.  He went home with his Bosses and needed a puppy bed!  So, our family gave him a "welcome home" kit, which consisted of some of my little puppy toys and a fluffy little bed he could call his own.  I love my little puppy friend- I needed to let him know how much he meant to me!  :D  I tried to sit in his bed.  Not quite as successful- it kept my rump pretty cozy, though.

One of my good buddies Jax in his little puppy bed. So sweet.
Boss made these using some simple Geometry.  She drew out a couple sketches of what she would like the bed to look like, then she made these shapes into different "pieces" of which to sew together to get the 3-D shapes she needed.  Can you tell that Small Boss ditches me Monday-Friday to work in 4-6th grade Math class? ;-)

After she got the pieces cut out, she sewed the outer tubes together, as well as the bottom liner portions together.  Once those two portions were sewn, she assembled them by sewing the tube to the bottom liner portion, leaving a 5" portion open so that she could stuff each spot.

She stuffed them, and then hand-sewed the hole shut.  Voila!

Do you think they turned out alright?  What shape would YOU pick?  Or better yet, would anyone like her to make a detailed tutorial? :)

Ruckus the American Eskimo Dog Blog
- See more at: http://www.ruckustheeskie.com/search/label/Thoughtless%20Thursday#sthash.HcMlCwWn.dpuf